Looking to refresh your home but not sure where to start? Whether you’re searching for smart space-saving ideas, timeless interior styling tips, or budget-friendly upgrades, this guide is designed to give you practical, actionable solutions you can use right away.
Home design trends change quickly, and it’s easy to feel overwhelmed by endless inspiration with little real guidance. That’s why this article focuses on what actually works—essential design elements that elevate any space, clever layout strategies that maximize functionality, and creative touches like DIY wall treatments that add personality without requiring a full renovation.
Our recommendations are grounded in proven interior design principles, current styling trends, and expert-backed space optimization techniques. We’ve analyzed what delivers lasting visual impact and real-life usability, so you can make confident decisions for your home.
By the end, you’ll have clear, practical ideas to transform your space—whether you’re planning a full makeover or simply upgrading one room at a time.
Staring at a blank wall can make an entire room feel unfinished (and a little uninspired). The good news? You don’t need a contractor to fix it. Start with paint techniques like color blocking or limewash for instant depth. Add peel-and-stick molding to fake architectural detail without power tools. Try removable wallpaper for bold pattern minus commitment. Floating shelves create storage and style in one move. Even a gallery grid using matching frames looks intentional. These DIY wall treatments turn empty space into a feature wall—often in a single weekend. Measure twice, level carefully, and embrace imperfect charm confidently today.
Add Depth and Dimension with Modern Textural Finishes
Flat, lifeless walls are frustrating. You paint, you wait for it to dry… and somehow the room still feels unfinished. If you’ve ever stared at a wall thinking, “Why does this look so basic?” you’re not alone.
Limewash & Mineral Paints
To begin with, limewash and mineral paints offer a soft, chalky, mottled finish that instantly adds character. Limewash is a mineral-based coating made from crushed limestone that creates subtle tonal variation. Instead of a flat color, you get gentle movement across the wall (finally, something that doesn’t look like builder-grade beige). Application is surprisingly simple: prime if needed, use a large brush, apply in crisscross strokes, and layer for depth. As it dries, it develops that organic, high-end texture people love.
Faux Concrete/Plaster Technique
On the other hand, if you prefer an industrial or rustic vibe, try a faux concrete look using joint compound. Apply thin layers, trowel for texture, sand lightly once dry, then seal with matte varnish. Yes, it takes patience—but the payoff feels custom, not cookie-cutter.
Paintable Textured Wallpaper
Finally, paintable textured wallpaper solves another common pain point: imperfect walls. Embossed patterns like beadboard or damask add dimension while disguising minor flaws. Among DIY wall treatments, it’s one of the most forgiving—and satisfying—options.
Create Architectural Interest with Lines and Shapes
Architectural detail doesn’t require a full renovation. In fact, some of the most dramatic upgrades come from simple geometry and thoughtful planning. I learned that the hard way after eyeballing a pattern that looked straight—until the paint dried (spoiler: it wasn’t).
Geometric Accent Walls
Start with a clean, primed wall. Use painter’s tape to map your design—triangles, arches, or bold color blocks. Press edges firmly to prevent bleed-through (I skipped this once and spent hours on touch-ups).
Steps:
- Sketch your pattern to scale first.
- Use a level and measuring tape—don’t rely on sight alone.
- Paint lighter colors first, then darker shades.
For palettes, stick to two or three complementary hues for cohesion. Matte finishes hide wall imperfections, while eggshell reflects light slightly for sharper contrast. If your wall isn’t perfectly smooth, matte is more forgiving.
DIY Board and Batten
This classic grid adds depth and dimension. Measure carefully and plan spacing before cutting MDF or pine boards. Attach using construction adhesive and a brad nailer. Caulk seams, fill nail holes, then paint for a seamless look.
Lesson learned: uneven spacing is obvious once painted. Measure twice. Then measure again.
Elegant Picture Frame Moulding
If full wainscoting feels overwhelming, create moulded boxes with lightweight trim. Arrange symmetrical rectangles, secure with adhesive and nails, then paint the wall and trim the same color for a refined finish.
These DIY wall treatments add character without overwhelming the room—proof that lines and shapes, when done right, create timeless architectural charm.
Personalize Your Space with Curated Wall Displays
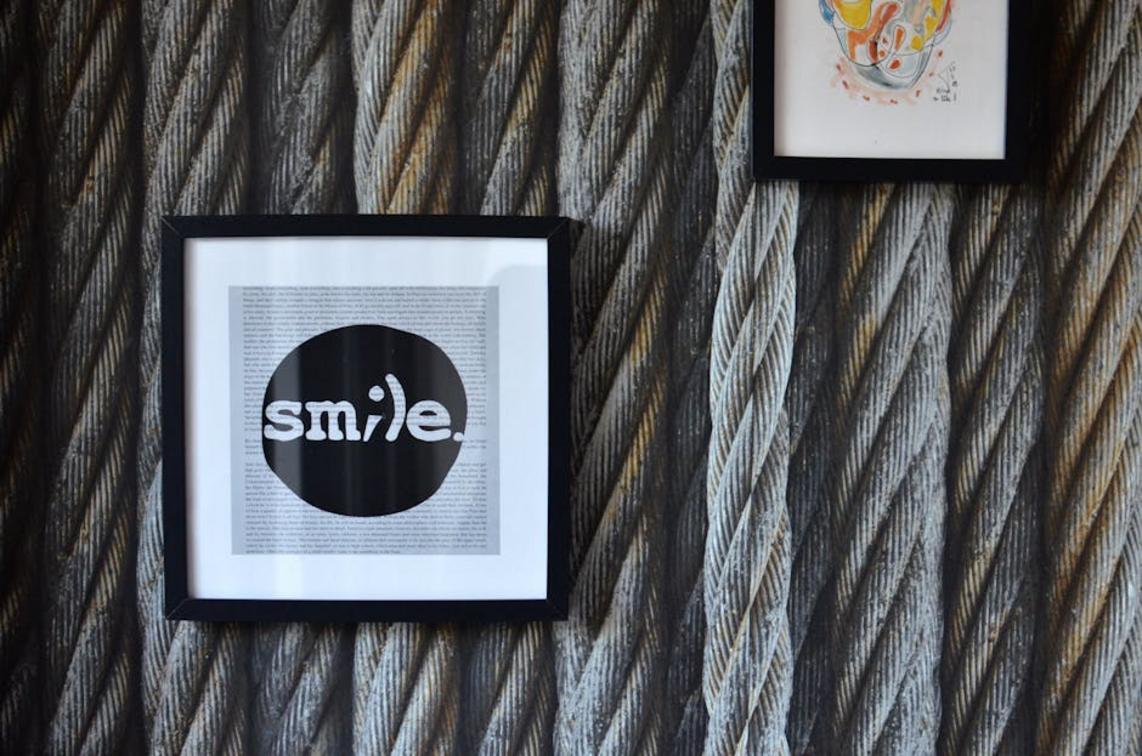
The Perfect Gallery Wall Formula
A great gallery wall isn’t random—it’s intentional chaos. Start by choosing a layout style:
- Grid-based for clean, modern symmetry
- Spiral for a playful, organic flow
- Salon-style (clustered and layered) for collected-over-time charm
Some argue eclectic walls feel messy. They can—if there’s no visual thread. I recommend choosing one unifying element: consistent frame color, mat style, or art theme. Cohesive frames feel polished; eclectic frames feel artistic. Pick the mood you want and commit.
Pro tip: trace each frame onto kraft paper, tape the templates to the wall, and adjust before hammering a single nail (future-you will be grateful).
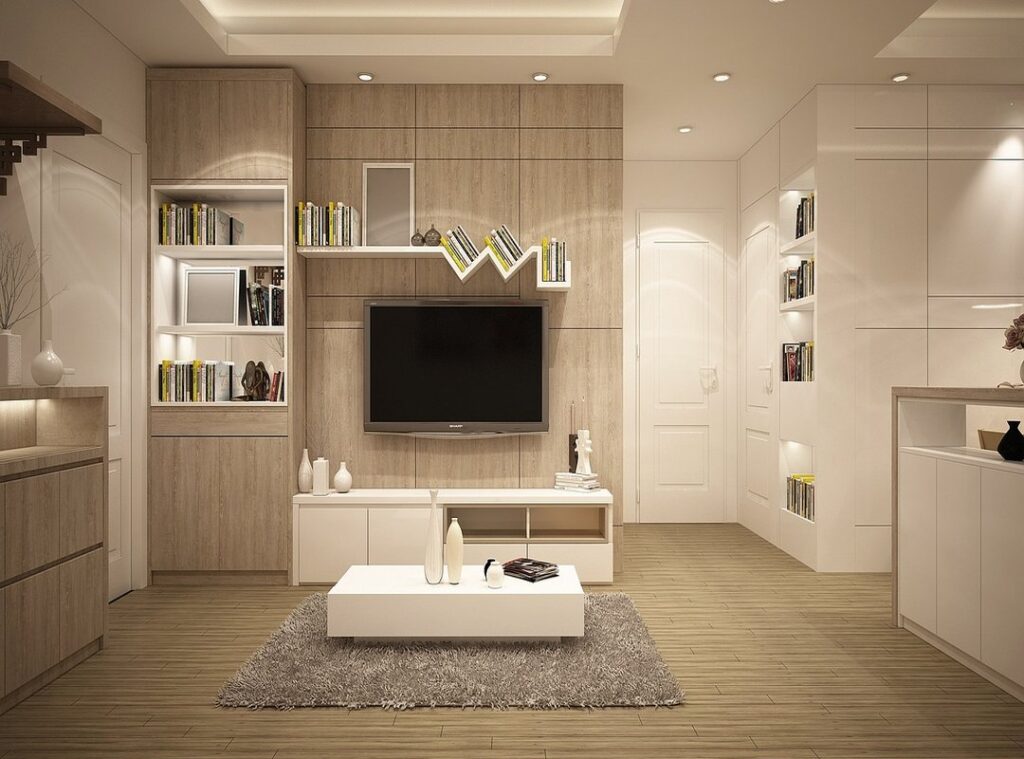
Functional & Stylish Floating Shelves
Floating shelves aren’t just storage—they’re architectural statements. Install them into studs or use heavy-duty anchors to ensure they hold weight safely. Style them using the rule of three (group objects in odd numbers), vary heights, and layer textures.
Mix:
- Books (horizontal + vertical stacks)
- Small art pieces
- Greenery for life and movement
If you love DIY wall treatments, shelves add depth without overwhelming the room.
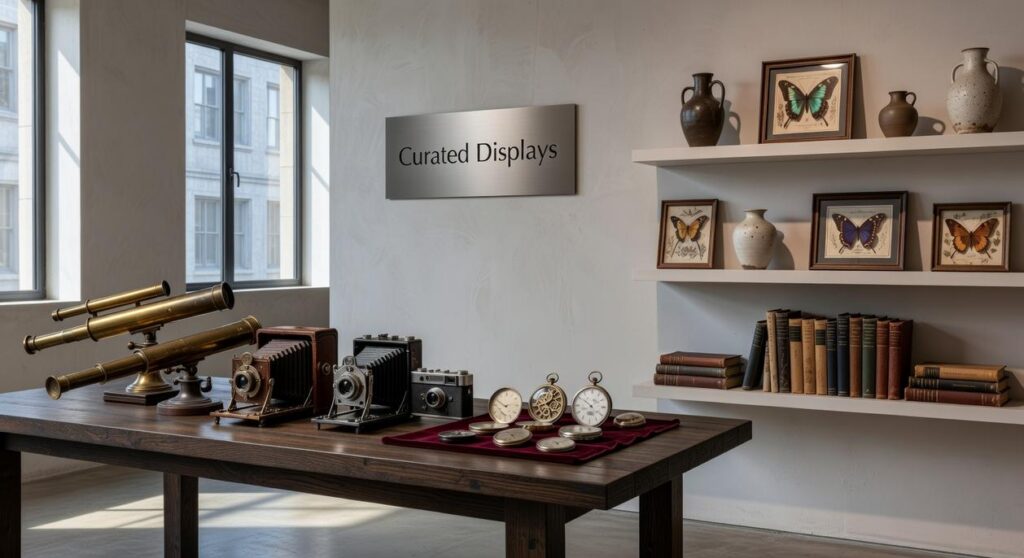
Easy-to-Install Picture Ledges
Picture ledges are ideal if commitment scares you (no judgment). Unlike fixed gallery walls, they allow you to swap art seasonally without extra holes. Layer frames front to back, overlap slightly, and rotate pieces when inspiration strikes.
For even more hands-on inspiration, explore upcycling furniture creative makeover ideas for beginners.
Recommendation: Start small. One ledge or a tight grid wall builds confidence—and momentum.
Low-Effort, High-Impact Updates for Any Room
First, consider peel-and-stick wallpaper. It’s ideal for renters or commitment-shy decorators because it removes cleanly without damaging walls. For best results, start from the center, smooth outward with a plastic tool, and peel backing slowly to prevent bubbles. In addition, choose subtle textures for small rooms and bold prints for accent walls.
Meanwhile, large-scale wall decals and murals offer drama without paint. From oversized botanicals to abstract arches, they create instant focal points. If you want fast DIY wall treatments, this is your move. Ultimately, pick designs that anchor furniture and balance color carefully.
Your Walls, Your Story
Some people insist that painting walls or adding art is expensive or reserved for designers. Others argue that renters should not bother. I disagree. With DIY wall treatments, peel-and-stick murals, and thrifted frames, transformation is practical and personal. Your walls can reflect your story, whether that is bold color or quiet texture. Start small: choose one project that excites you, gather simple materials, and begin. A gallery grid from postcards costs less than dinner out (yes, really). Pro tip: test layouts on the floor first. Your home should not feel generic; it should feel lived in. Start creating today, boldly.
Bring Your Walls to Life with Confidence
You started this guide looking for creative, practical ways to refresh your space without overwhelming your budget or your time. Now you have the inspiration, techniques, and direction to turn blank or outdated walls into standout features using DIY wall treatments that truly reflect your style.
The frustration of staring at dull, uninspired walls or feeling stuck with a space that doesn’t feel like you is real. But the good news? You don’t need a full renovation to create impact. With the right design approach and a few intentional upgrades, you can completely transform the mood and function of any room.
Here’s your next step: choose one wall, pick one technique, and take action this week. Start small, stay focused, and build momentum. If you want expert-backed ideas, step-by-step inspiration, and proven styling strategies trusted by thousands of home enthusiasts, explore more of our practical guides and makeover tips today. Your dream space isn’t far away—you just need to begin.
 Trevella Veythanna is the kind of writer who genuinely cannot publish something without checking it twice. Maybe three times. They came to interior styling ideas through years of hands-on work rather than theory, which means the things they writes about — Interior Styling Ideas, Decorad Space Optimization Techniques, Curious Insights, among other areas — are things they has actually tested, questioned, and revised opinions on more than once.
That shows in the work. Trevella's pieces tend to go a level deeper than most. Not in a way that becomes unreadable, but in a way that makes you realize you'd been missing something important. They has a habit of finding the detail that everybody else glosses over and making it the center of the story — which sounds simple, but takes a rare combination of curiosity and patience to pull off consistently. The writing never feels rushed. It feels like someone who sat with the subject long enough to actually understand it.
Outside of specific topics, what Trevella cares about most is whether the reader walks away with something useful. Not impressed. Not entertained. Useful. That's a harder bar to clear than it sounds, and they clears it more often than not — which is why readers tend to remember Trevella's articles long after they've forgotten the headline.
Trevella Veythanna is the kind of writer who genuinely cannot publish something without checking it twice. Maybe three times. They came to interior styling ideas through years of hands-on work rather than theory, which means the things they writes about — Interior Styling Ideas, Decorad Space Optimization Techniques, Curious Insights, among other areas — are things they has actually tested, questioned, and revised opinions on more than once.
That shows in the work. Trevella's pieces tend to go a level deeper than most. Not in a way that becomes unreadable, but in a way that makes you realize you'd been missing something important. They has a habit of finding the detail that everybody else glosses over and making it the center of the story — which sounds simple, but takes a rare combination of curiosity and patience to pull off consistently. The writing never feels rushed. It feels like someone who sat with the subject long enough to actually understand it.
Outside of specific topics, what Trevella cares about most is whether the reader walks away with something useful. Not impressed. Not entertained. Useful. That's a harder bar to clear than it sounds, and they clears it more often than not — which is why readers tend to remember Trevella's articles long after they've forgotten the headline.