Ever spot an old dresser on the curb and think, “What a waste”? You’re not alone. We all crave a home with character, but let’s face it.
Mass-produced furniture is a snooze. High-end stuff? Outrageously priced.
I know because I’ve spent years turning forgotten pieces into show-stoppers.
Trust me, upcycling old furniture isn’t just for the pros. It’s a skill anyone can pick up, and I’ll show you how. This article is your roadmap for repurposing vintage gems.
From hunting down the right pieces to adding those final touches, I’ve got you covered.
Imagine the pride you’ll feel, showing off something you transformed with your own hands. Ready to breathe new life into old treasures? to this creative journey together.
More Than Just a Coat of Paint: Upcycling’s Triple Win
Repurposing isn’t just about slapping a new look on old furniture. It’s a bold statement against waste. “Fast furniture” is swallowing our planet, folks. Each piece we save from the landfill is a step toward eco-chic living.
Isn’t that what we all want? Imagine your home filled with character, not just cookie-cutter designs from the store. Vintage items have stories.
They whisper tales of different eras, adding soul to your space. New items just can’t replicate that.
And let’s talk money. Quality furniture today costs an arm and a leg. But older pieces?
They’re often solid wood and built to last. A little elbow grease can save you a lot of cash. It’s a no-brainer.
Why pay more when upcycling old furniture can give you premium quality at a fraction of the price? Plus, if you’re someone who loves weekend DIY projects transform space quickly, repurposing is the perfect playground. So, what’s stopping you from diving into this treasure trove?
The Treasure Hunter’s Guide: Spotting Pieces with Potential
When you’re hunting for furniture treasures, focusing on good bones is key. What do I mean by that? Solid wood construction, sturdy legs, and classic shapes.
Avoid laminate or particleboard. They might look fine, but they won’t last. Solid wood is built to endure.
Now, what are the green flags you should be looking for? Dovetail joints in drawers are a great sign. Those things are strong and show real craftsmanship.
Interesting hardware can be a hidden gem. Even if it’s tarnished, a little polishing can make it shine again. Notice any unique silhouettes?
They could be your next statement piece.
On the flip side, watch out for the red flags. Tiny holes? Probably woodworm.
Back away slowly. Water damage is another no-go. Warping or black stains mean a piece might’ve been through a flood.
Or worse. And musty smells can be impossible to remove, so trust your nose.
Wobbly frames might seem like a deal-breaker, but if they can be tightened up, they might be worth the effort. Don’t be scared by surface-level issues like scratches or faded finishes. These are the easiest to fix.
A new coat of paint or some sanding can transform them.
Remember, it’s easier to upcycling old furniture when you’ve got the right raw materials. Some TLC can turn a hidden treasure into the centerpiece of your room. So get out there and start hunting.
Who knows what you’ll find?
Your Important Toolkit & Prep Work Primer
When you’re diving into the world of upcycling old furniture, a solid toolkit is everything. You start with the basics: screwdrivers, cleaning rags, and a trusty drop cloth. These are your bread and butter.
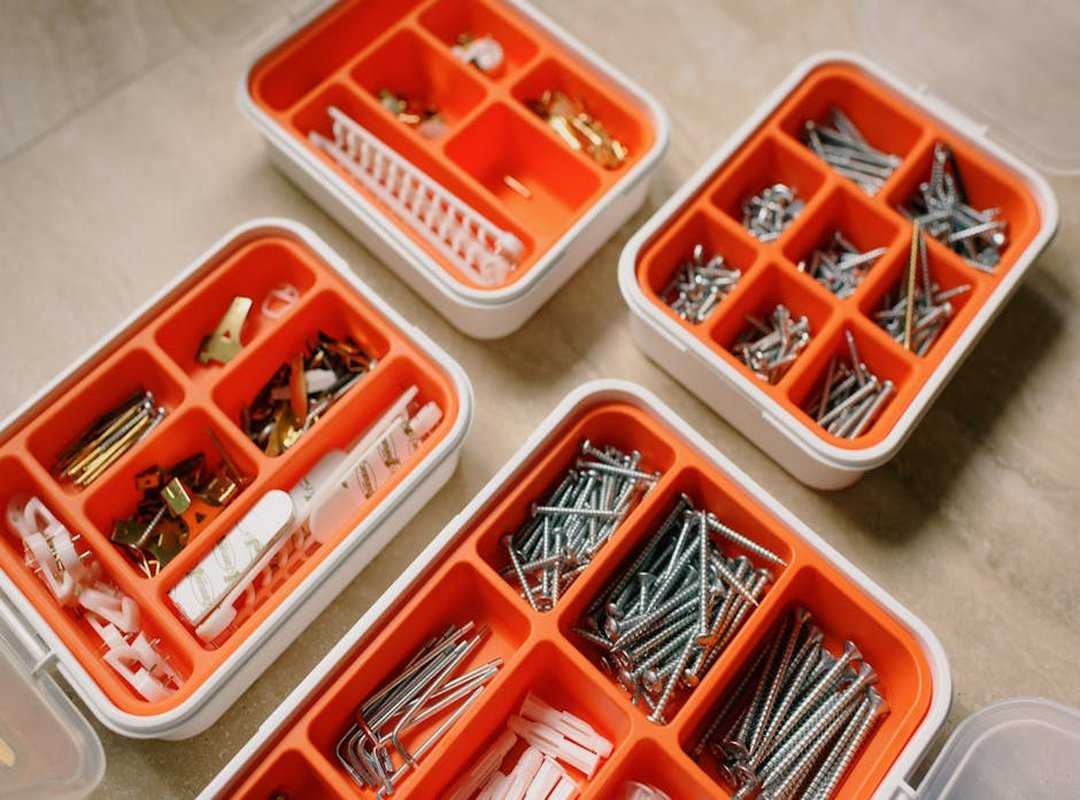
Then there are the essentials for refinishing (sandpaper) in different grits, painter’s tape, and quality paint brushes or rollers. These tools are non-negotiable if you want a good finish. Want to level up?
Consider an orbital sander. It’s not mandatory, but it saves time and gives a smoother finish.
Prep work, though (this) is the heart of the operation. Skipping this step is like starting a puzzle without all the pieces. Step 1: Deep Clean.
You grab a degreasing agent, like a TSP substitute, and get to work. It’s about scrubbing away years of grime, not just dusting. Step 2: Sanding.
Think of this as the makeover part. You can choose between a light scuff-sand to rough up the surface or go all in and strip the finish off. Both have their place.
If you’re on a budget, check out Budget Friendly Renovations High Impact Low Cost. They have tips to help stretch your dollar. Remember, the right prep and tools make all the difference in transforming your old furniture.
Step 3: Priming. Trust me, primer is your best friend. It guarantees your paint will stick and look professional.
Are you ready to roll up your sleeves and make it happen?
From Drab to Fab: Inspiring Project Ideas to Start
Ever glance at an old dresser and see untapped potential? That’s what I love about upcycling old furniture. Take that low, wide dresser, for instance.
Picture it as a dining room buffet or media console. You just need a bit of imagination and elbow grease.
The key to transforming a dresser into something fabulous starts with removing those top drawers. This creates open shelving for decor or gadgets, perfect for any room. Once you’ve got the structure, paint it.
Choose a bold color or a sophisticated neutral. Then, swap out the hardware for something chic. I find that adding a personal touch with handles can make all the difference.
Suddenly, you have a piece that’s both functional and a conversation starter.
Now, let’s talk about the lone chair we’ve all had at some point. It’s that odd one out, right? But it doesn’t have to be.
Turn it into a charming planter. It’s simple: cut out the seat and nestle a pot inside. If plants aren’t your thing, try a coat of bold paint and fresh upholstery.
These small tweaks turn a forgotten chair into an accent piece that adds character. People will ask, “Where did you buy that?”
Finally, those old drawers you’re ready to toss? Don’t. They’re gold mines for creativity.
Turn them into wall-mounted shelves. Start by securing the drawer bottoms. Then, get crafty with paint or line the insides with wallpaper. (I love a floral print for a pop of surprise.) Mount them on the wall safely, and voilà!
You’ve got unique displays that stand out. These shelves are perfect for showcasing books, plants, or collectibles.
Got a weekend to spare? Dive into one of these projects. Upcycling old furniture isn’t just a trend; it’s a way to breathe new life into what you own, saving money and the planet.
Plus, nothing beats the satisfaction of transforming forgotten items into treasures. Ready to roll up your sleeves and take that first step? The magic is only a few tweaks away.
Craft Your Unique Space
Ever looked at your home and thought, “This just isn’t me”? You’re not alone. Luckily, upcycling old furniture is your ticket to a space that screams you without emptying your wallet.
Want a room that tells your story? Grab that forgotten piece and make it shine. With a keen eye and some elbow grease, you’ll transform trash into treasure.
Ready to start this journey? Roll up your sleeves and dive into your first project. Your home will thank you.
You’ve got the map. Now, unleash your creativity. Embrace the adventure.
Happy repurposing!
 Trevella Veythanna is the kind of writer who genuinely cannot publish something without checking it twice. Maybe three times. They came to interior styling ideas through years of hands-on work rather than theory, which means the things they writes about — Interior Styling Ideas, Decorad Space Optimization Techniques, Curious Insights, among other areas — are things they has actually tested, questioned, and revised opinions on more than once.
That shows in the work. Trevella's pieces tend to go a level deeper than most. Not in a way that becomes unreadable, but in a way that makes you realize you'd been missing something important. They has a habit of finding the detail that everybody else glosses over and making it the center of the story — which sounds simple, but takes a rare combination of curiosity and patience to pull off consistently. The writing never feels rushed. It feels like someone who sat with the subject long enough to actually understand it.
Outside of specific topics, what Trevella cares about most is whether the reader walks away with something useful. Not impressed. Not entertained. Useful. That's a harder bar to clear than it sounds, and they clears it more often than not — which is why readers tend to remember Trevella's articles long after they've forgotten the headline.
Trevella Veythanna is the kind of writer who genuinely cannot publish something without checking it twice. Maybe three times. They came to interior styling ideas through years of hands-on work rather than theory, which means the things they writes about — Interior Styling Ideas, Decorad Space Optimization Techniques, Curious Insights, among other areas — are things they has actually tested, questioned, and revised opinions on more than once.
That shows in the work. Trevella's pieces tend to go a level deeper than most. Not in a way that becomes unreadable, but in a way that makes you realize you'd been missing something important. They has a habit of finding the detail that everybody else glosses over and making it the center of the story — which sounds simple, but takes a rare combination of curiosity and patience to pull off consistently. The writing never feels rushed. It feels like someone who sat with the subject long enough to actually understand it.
Outside of specific topics, what Trevella cares about most is whether the reader walks away with something useful. Not impressed. Not entertained. Useful. That's a harder bar to clear than it sounds, and they clears it more often than not — which is why readers tend to remember Trevella's articles long after they've forgotten the headline.